Creating A Blastable Stencil
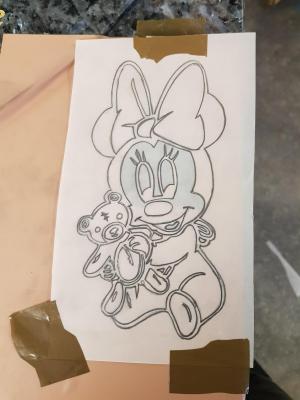

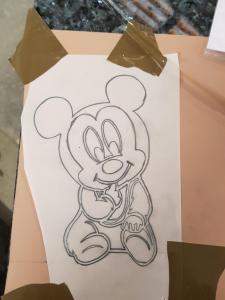
- Here we have a couple of designs which require transferring onto a memorial.
- We first trace over the printed pictures in soft pencil to get the shape and outline of the chosen design.
- Then we reverse the tracing paper and draw over the design again, this gives us a thin layer of pencil to the back of the paper.
- Reverse the design again and tape it to the stencil tape of which we are using the Anchor T226 which is a softish pliable rubber stencil, we then trace back over the design again with a soft pencil which transfers pencil onto the rubber stencil.
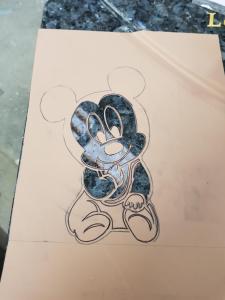
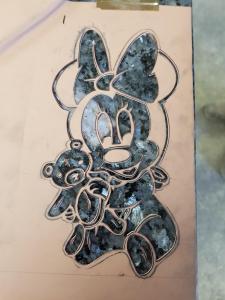
- At this point we can remove & discard the tracing paper, we now have the the design ready to cut out by hand with a craft knife.
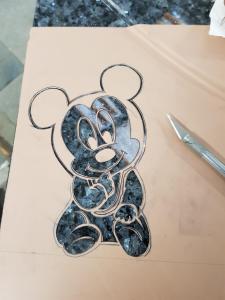
- We carefully cut out the design and remove the sections that are to be sandblasted, we have to interpret the design in such a way that the sections cut out will make the picture look correct. A picture printed on paper is very different to a picture on stone, pick out the wrong section and the design could look completely different.
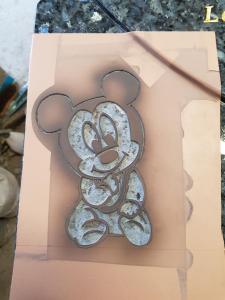
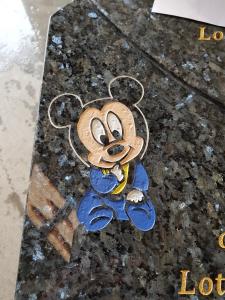
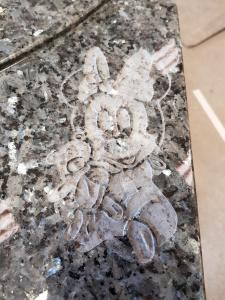
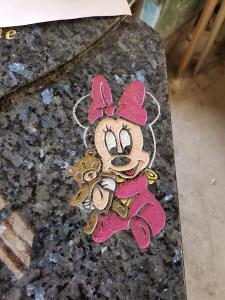
- After cutting out the design its time to sandblast, this design is blasted to a depth of approximately 3mm
- Now we paint the blasted design with enamel based paints and finally coat with a protective glaze which is UV resistant.